
Most home cooks own a decent knife and use it badly. Not dangerously, just slowly, with a lot of unnecessary sawing and a pile of onion that's half chunks and half mush.
The fix isn't a better knife. It's about four things, and you can learn all of them in an afternoon: how you hold it, how you hold the food, and three cuts that between them cover the overwhelming majority of what happens on a home cutting board.
One thing that is worth getting right before any of that, because no amount of technique fixes it afterwards: the board itself. USDA food safety guidance on cutting boards is short and worth two minutes, and the part people miss is that a board scored with deep knife cuts should be replaced rather than scrubbed harder.
Start with the grip, because everything else depends on it
Hold the handle like a hammer and you've already lost. That grip puts your control point behind the blade, so the tip wanders and you compensate by pressing harder.
Pinch the blade instead. Thumb on one side, index finger curled against the other, right where the blade meets the handle. Your remaining three fingers wrap the handle. It feels wrong for about ten minutes and then it feels like the only sensible way to do it.
Why does it work? You're gripping the part that does the cutting, so the knife becomes an extension of your hand rather than something you're steering from a distance. Precision goes up and effort goes down.
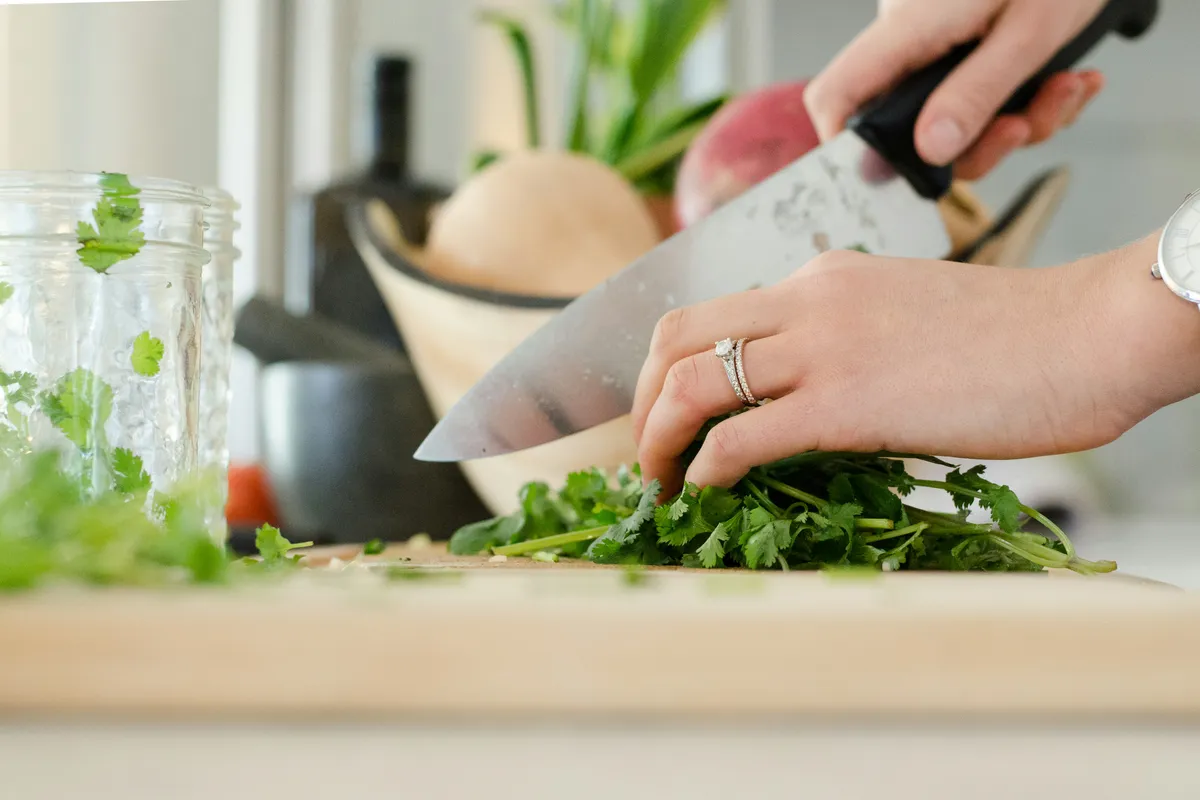
The other hand matters just as much. Curl your fingertips under, knuckles forward, and let the flat of the blade rest against those knuckles as it moves. The knuckles guide the cut and the fingertips stay behind the blade. It's called the claw, it looks awkward in photos, and it's the single reason experienced cooks can chop quickly without watching their hands.
Cut one: the rock chop
This is for herbs, garlic, nuts, anything you want reduced to small irregular pieces.
The tip of the knife never leaves the board. You pivot on it, lifting the heel and bringing it down, working the blade across the pile in an arc. Your guiding hand sits flat on the spine of the blade, near the tip, applying gentle downward pressure.
The mistake nearly everyone makes is lifting the whole knife and chopping downward. That bruises herbs instead of cutting them, which is why basil goes black and parsley turns into a wet green paste. A sharp blade drawn through leaves severs the cells. A blunt blade pressed down crushes them.
Gather the pile back together, rock through it again, repeat. Two or three passes is plenty for most things. Keep going past that and you're making pesto without meaning to.
Cut two: the dice, learned on an onion
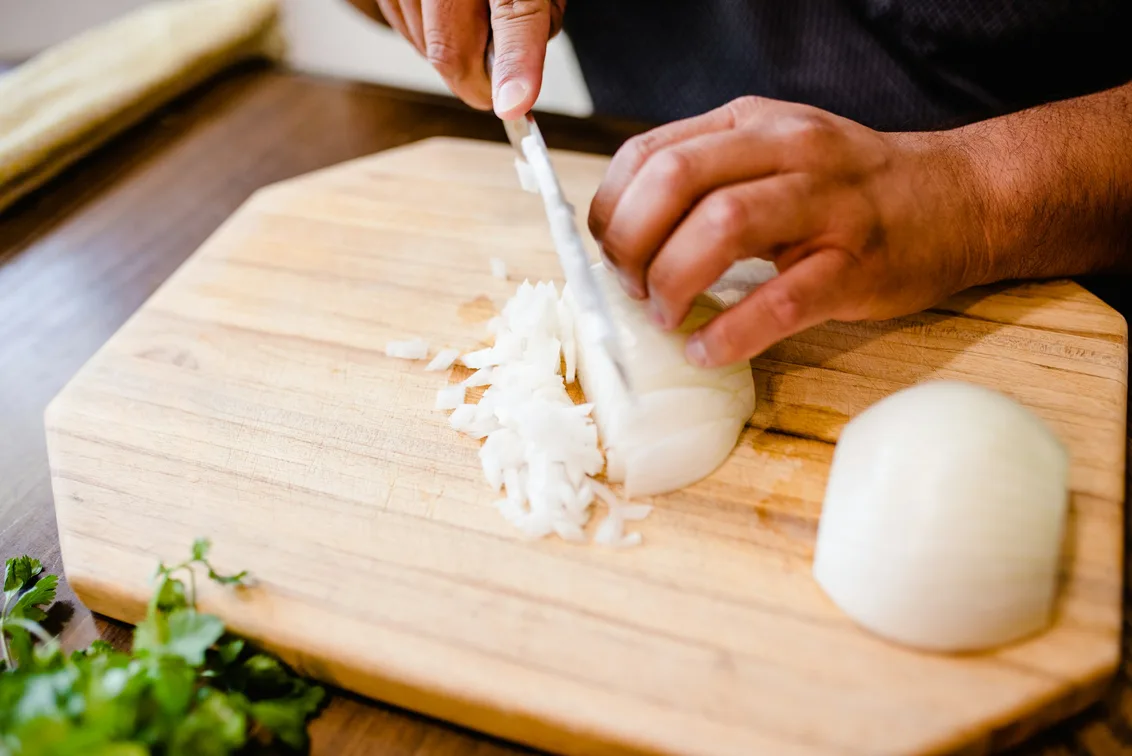
If you can dice an onion properly you can dice almost anything, because the method generalizes to every round vegetable that won't sit still.
Cut it in half through the root, top to bottom. Peel. Lay a half flat side down, which solves the stability problem in one move.
Now, and this is the part people skip: leave the root end intact. It holds every layer together while you work. Make horizontal cuts toward the root without going through it, then vertical cuts down the length, then slice across. The dice falls apart on its own.
How fine? Match the cut to the cooking time. A coarse dice around a centimeter works for a stew that runs an hour. A fine dice nearer three millimeters is what you want for a sauce base that only gets ten minutes, since anything larger stays crunchy. This is the detail that quietly separates a good bolognese from a mediocre one, and it costs nothing but attention.
The same sequence handles shallots, and with a flat side cut first, it handles potatoes and carrots too. Our one pot chicken and rice is a good place to practice, since the dice size genuinely changes the result.
Cut three: the draw slice
Chopping presses down. Slicing draws back. They're different motions and using the wrong one is why home-cooked steak sometimes has a strange shredded texture.
For anything soft or fibrous, meat, fish, ripe tomatoes, fresh bread, you pull the blade toward you through the food in one long stroke, letting the length of the edge do the work. No downward force. No sawing back and forth.
So how do you know your knife is sharp enough? Sawing is the tell of a dull one. A sharp edge parts a tomato skin on the first pass. If you're working it like a hand saw, the knife is asking for a sharpener, not more effort from you.
For meat specifically, find the grain, those parallel muscle fibres, and cut across them rather than along. Cutting across shortens the fibres and the meat reads as tender. Cutting along leaves them long and it reads as chewy. Same cut of beef, same cooking, completely different eating experience.
Your knife is duller than you think
Here's what most kitchen advice gets backwards: a dull knife is more dangerous than a sharp one.
A sharp blade goes where you point it. A dull one skids off an onion skin or a tomato, and it skids toward your hand with real force behind it. Most serious kitchen cuts come from a knife that wouldn't bite.
A dull knife is more dangerous than a sharp one. It skids off the onion instead of biting, and it skids toward your hand.
Honing and sharpening aren't the same job, and the confusion costs people a lot of edges. A honing steel straightens an edge that's rolled over from use. Do it often, every few sessions. Sharpening removes metal to create a new edge, and most home cooks need it perhaps twice a year.
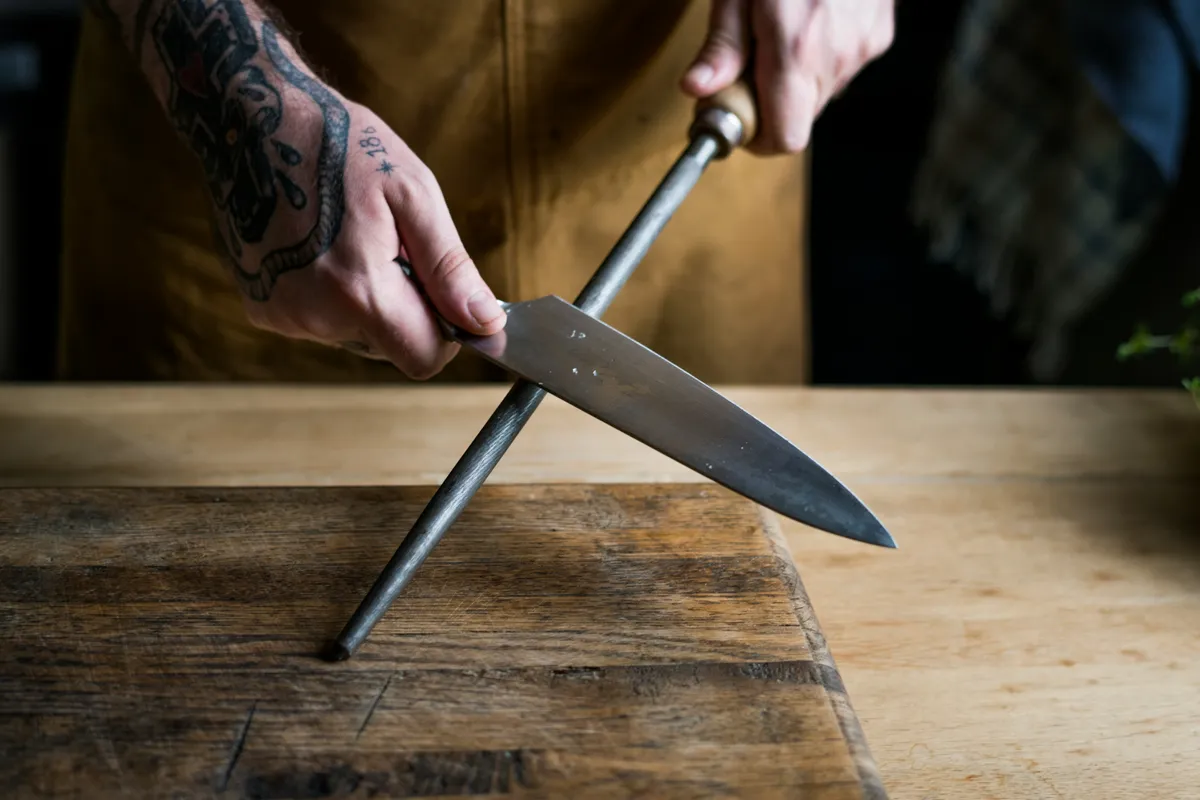
Western knives are typically ground around 20 to 25 degrees per side, Japanese ones closer to 15. That's why a Japanese blade feels sharper and also why it chips if you use it on bone or frozen food. Know which you own before you take it to a whetstone.
- Never put a good knife in the dishwasher. Heat, detergent and knocking against other items all damage the edge.
- Wash and dry by hand, immediately.
- Store on a magnetic strip or in a block, not loose in a drawer where the edge bangs into everything.
- Use a wooden or plastic board. Glass, marble and stone boards destroy edges quickly.
The board is half the setup
A board that slides is a board you're fighting. Lay a damp cloth or paper towel underneath and the problem disappears.
Height matters more than people expect. Your work surface should let you keep your wrist roughly straight with your elbow at a comfortable angle. Too high and you lose both power and control. Most kitchen counters are built for someone about five foot eight, so if you're notably taller or shorter, a thicker board or a low step is a legitimate fix rather than a fussy one.
Size matters too. Ever wondered why restaurant boards look absurdly large? A small board forces you to work in a cramped space and pile cut food where you're still cutting. Bigger than you think you need, always.
What to practice
Buy a bag of onions. Dice all of them, one after another, and cook whatever comes out over the following week. Repetition on a single ingredient teaches your hands faster than doing five things once each.
Then do the same with carrots for the plank-and-baton sequence, and a bunch of parsley for the rock chop. Three sessions and the motions stop feeling deliberate.
Speed isn't the goal, and chasing it early is how people get hurt. Speed is what happens on its own once the motion is right. Aim for even pieces and a knife that goes where you meant it to, and the pace follows without you doing anything about it.