
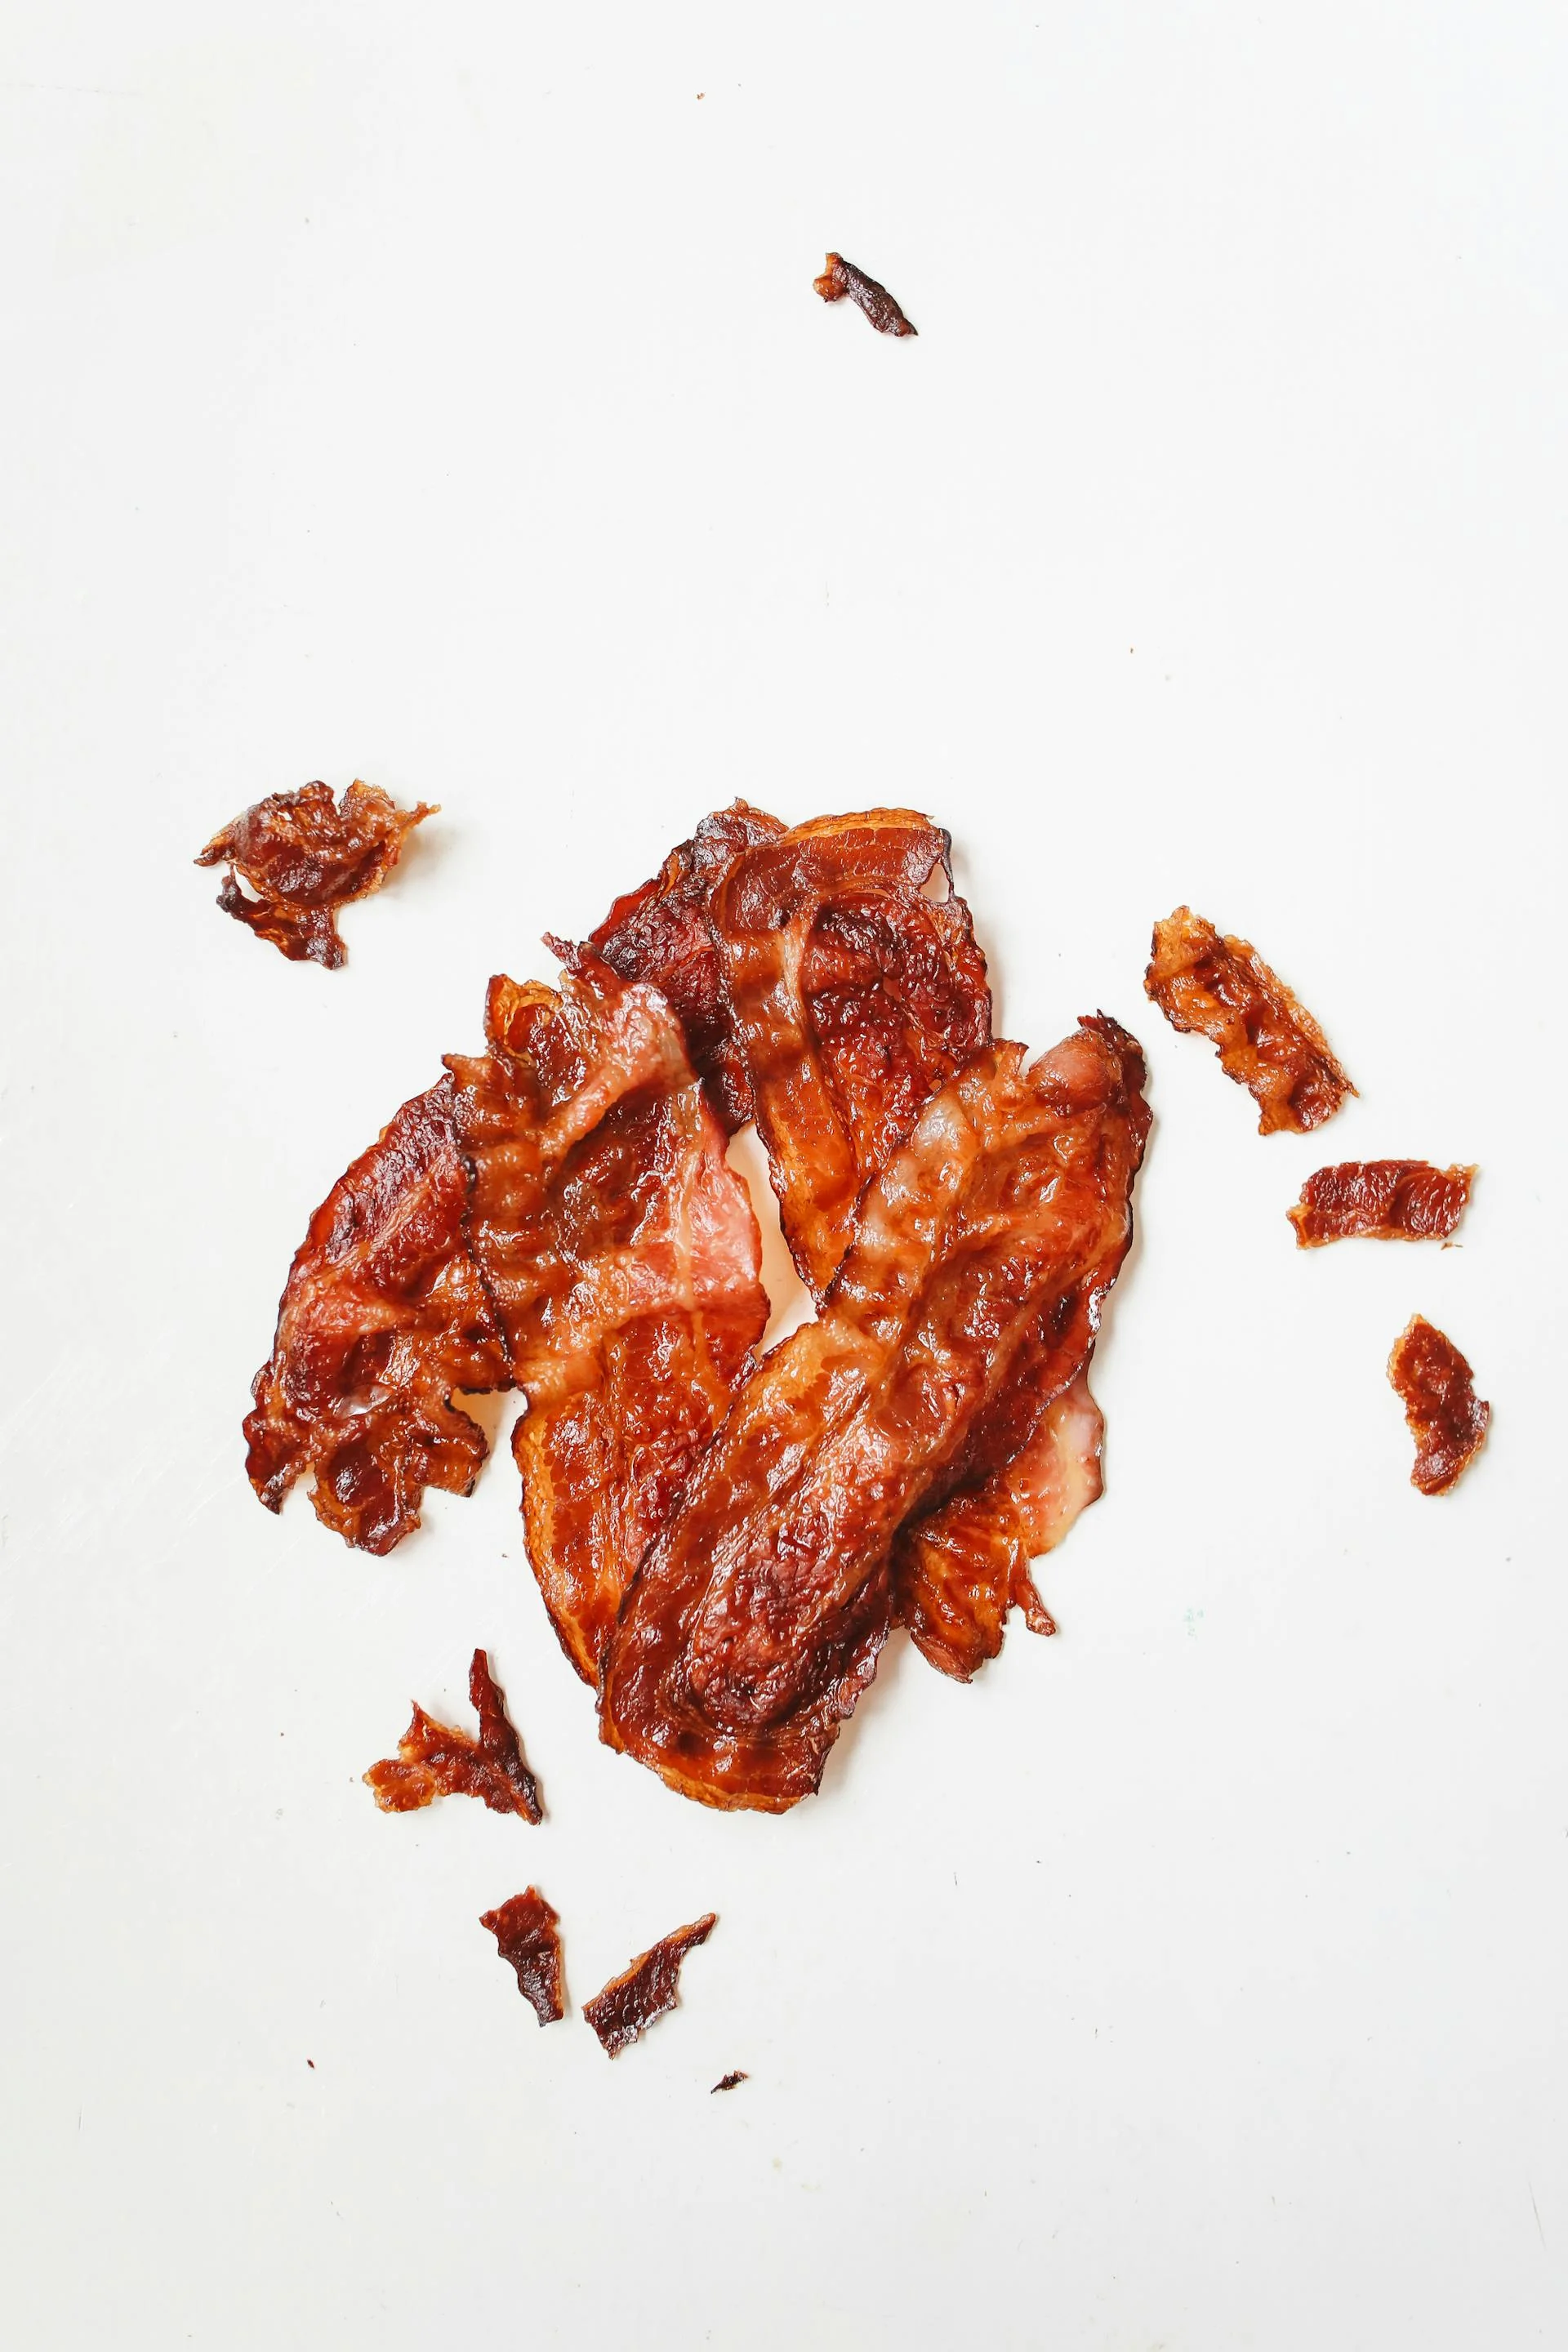
Standing over a hot skillet getting splattered with grease is optional. Bacon bakes just as well in the oven.
Oven-baked bacon changes breakfast completely. Flat strips. Even crispiness. Zero babysitting. No mess, completely grease-free stovetop. You lay it on a pan, set a timer, and walk away.
TL;DR: Bake bacon at 400F for 18-22 minutes on a parchment-lined sheet pan, starting from a cold oven. Thick-cut bacon goes at 375F for 25-30 minutes. You get flat, evenly crispy bacon with zero babysitting. One pan holds 12-15 strips, no flipping needed, and cleanup is folding up the parchment.
Why the Oven Beats the Skillet
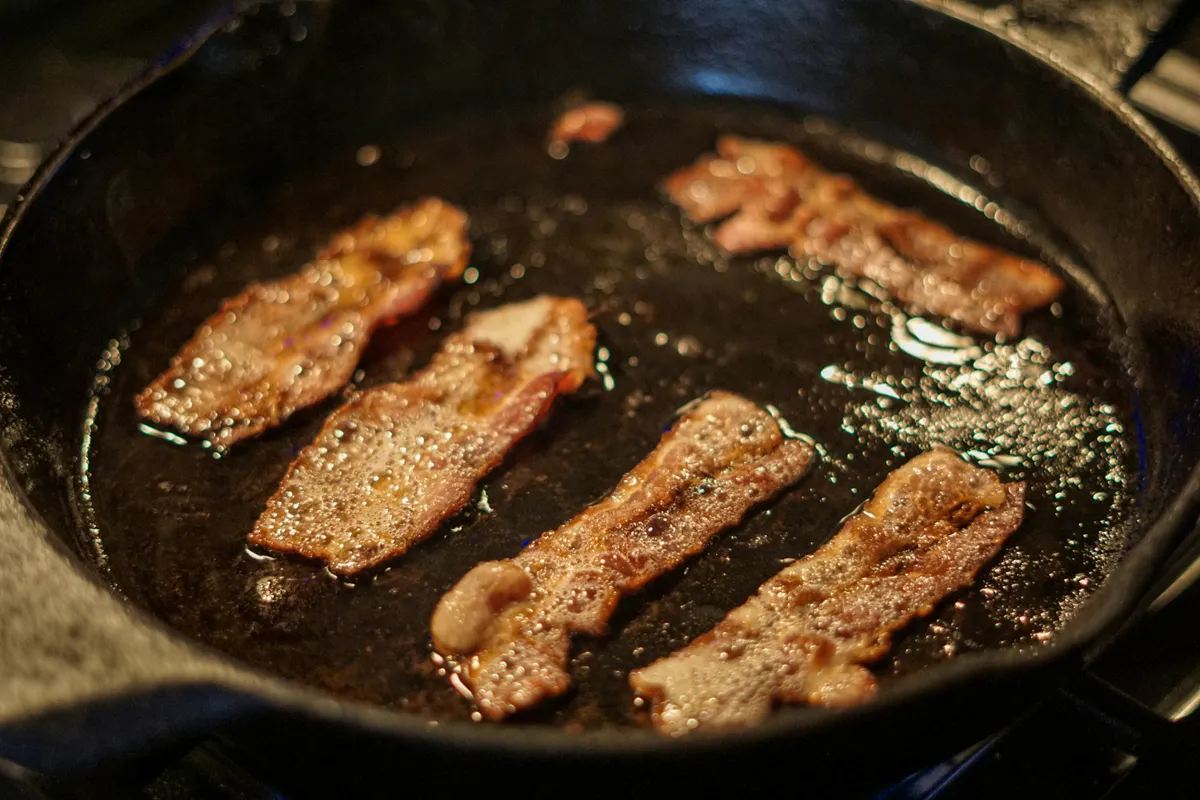
Stovetop bacon curls. It pops grease on your arms. You can only fit 4-5 strips in a 12-inch skillet, so cooking for a family means standing there for 20 minutes flipping batch after batch.
A single sheet pan fits 12-15 strips. Two pans in the oven and you've got bacon for 8 people in one shot. Why would anyone go back to the skillet after that?
The oven's radiant heat also renders fat more gradually than direct contact with a hot pan. That means the meat cooks through before the outside burns.
Oven vs Skillet vs Microwave vs Air Fryer
The skillet isn't the only competition, so here's the honest comparison across all four.
| Method | Strips per batch | Hands-on time | Texture | Reach for it when |
|---|---|---|---|---|
| Oven | 12-15 | About 2 minutes | Flat, evenly crisp | Almost always, and any time you're feeding more than two |
| Skillet | 4-5 | The whole cook | Curled, crisp edges, chewier middle | You want two strips now, or you need the hot fat for eggs in the same pan |
| Microwave | 4-6 | About 1 minute | Brittle and dry | Speed genuinely matters more than quality |
| Air fryer | 4-6 | About 3 minutes | The crispiest of the four | You want maximum crunch for a BLT and don't mind the smoke |
A few things that comparison hides.
Why is microwave bacon so much worse than the time saved suggests? The reason is physical rather than snobbery. Sandwiched between paper towels, the strips cook by steam and absorbed water rather than rendering properly, so the fat never browns the meat. You get something dry and snappy that shatters instead of bending. Fine on a breakfast sandwich where it's one layer among five. Sad on its own plate.
The air fryer is the interesting one, because it genuinely beats the oven on crispness and genuinely loses on everything else. Fat drips onto the drawer floor directly under a heating element, and bacon fat starts smoking around 400F, so run it at 350F rather than the 400F you'd use in the oven, and expect to open a window anyway. A tablespoon of water in the drawer under the basket stops most of the smoking, which is the single best air fryer bacon tip going. Capacity is the real limit though: a typical basket holds five strips flat, so cooking for four people means three rounds. If you're weighing up machines for this kind of job, the air fryer cook times chart covers what actually fits in each size.
So why does the oven still win? Because it's the only one of the four where the batch size matches how people actually eat bacon, and the only one where the hands-on time doesn't scale with the amount you're cooking.
The Best Temperature and Timing
Here's what works across the usual 350F to 425F range:
| Regular-cut (~1/16 in) | Thick-cut (~1/8 in) | |
|---|---|---|
| Oven temp | 400F | 375F |
| Rack position | Center rack | Center rack |
| Time | 15-20 min (15 chewy, 20 crispy) | 22-28 min (check at 22) |
Start with a cold oven. Seriously. Put the bacon in while the oven preheats. The slow temperature climb renders more fat before the meat starts to crisp, and you end up with a better texture.
The USDA recommends cooking pork to 145F with a 3-minute rest, but with thin bacon strips you can't practically use a thermometer. Go by visual cues, deep golden brown means done.
Wire Rack vs. Flat on the Pan
This is where people get opinionated online. Here's the take: skip the wire rack for everyday cooking.
A wire rack lifts the bacon so air circulates underneath and fat drips away. Sounds great in theory. In practice? The rack is a pain to clean, the bacon sticks to it, and the texture difference is minimal. A Nordic Ware oven-safe cooling rack ($14.99 at Target) is worth pulling out only when you need extra-crispy bacon for BLTs or salad crumbles.
For regular Tuesday morning bacon, lay strips directly on a parchment-lined sheet pan. Done. The bottom sits in a thin layer of rendered fat, which honestly adds flavor. Fight me on this.
If you do use a rack, spray it with cooking spray before laying down the bacon. Trust me, you'll thank yourself at cleanup time.
Step by Step
- Line a rimmed half-sheet baking sheet (18x13 inches) with parchment paper or aluminum foil
- Lay bacon strips in a single layer, edges can touch but shouldn't overlap
- Place the baking sheet on the center rack of a cold oven
- Set oven to 400 degrees (375F for thick-cut)
- Set a timer for 15 minutes and check
- Pull when the color looks right for your crispiness preference
- Transfer the bacon to a paper towel-lined plate
That's it. No flipping. No grease burns. No standing guard.
Cleanup Without the Headache
Here's the trick that saves 10 minutes every time: parchment paper. Foil works too, but parchment is non-stick and doesn't tear. Once the bacon fat cools to room temperature (about 20 minutes), carefully fold up the parchment and toss it.
Never pour hot bacon grease down the drain. Keep a Mason jar next to the stove and strain the cooled fat through a fine mesh strainer into it. Bacon fat is liquid gold for cooking, good for seasoning air fryer pork chops and saute vegetables.
Batch Cooking for the Week
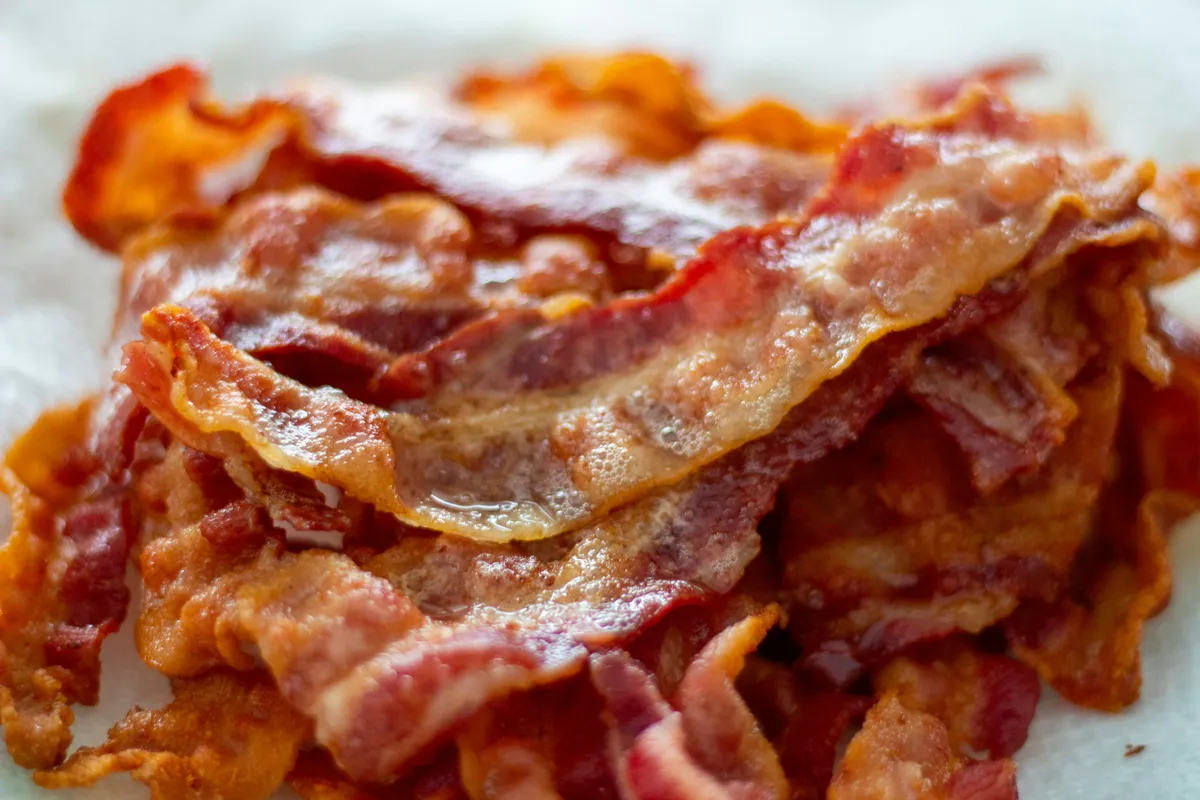
Oven bacon is a meal prep game plan essential. Bake 2 pounds of thick-cut bacon on Sunday. It takes 28 minutes. Store it in an airtight container layered between paper towels, and it stays good in the fridge through Friday.
Reheating takes 15 seconds in the microwave or 3 minutes at 350F in the oven if you want that just-cooked crunch back.
Could you meal prep bacon on the stovetop? Sure. But you'd spend 40 minutes hovering over a stove instead of 2 minutes of actual hands-on work. The math speaks for itself.
Two Variations Worth the Extra Minute
Plain oven bacon is the default, but the sheet pan makes two upgrades easy that are genuinely annoying in a skillet. Why bother? Because both take under a minute of extra work and neither needs an ingredient you don't already have.
Maple-glazed. Bake as normal, then brush the strips with real maple syrup for the last 5 minutes only. Timing is the whole trick here. Syrup is mostly sugar, sugar burns well below the temperature bacon needs, and brushing it on at the start gives you black lacquer rather than glaze. Half a teaspoon per strip is plenty; more just pools on the parchment and welds itself there. Skip the pancake syrup, which is corn syrup with colouring and goes gummy instead of setting.
Pepper bacon. Press coarsely cracked black pepper into both sides of the raw strips before they go in, and be more generous than feels sensible, because a lot of it ends up in the fat rather than on the meat. Use cracked, not pre-ground: the fine stuff turns dusty and slightly bitter over 20 minutes of dry heat. A teaspoon covers a full pan. It costs nothing but the pepper.
Both work with the same temperatures and times as the plain version. For the maple one, use parchment rather than foil and rather than a bare pan, unless washing caramelised sugar off a sheet pan is your idea of a good Sunday.
Quick Troubleshooting
- Bacon burning on edges: Your oven runs hot. Drop the temp by 25F and check earlier. Most home ovens are off by 15-25 degrees, and an $8 oven thermometer settles the argument permanently.
- Chewy spots in the center: Strips were overlapping. Give them space next time.
- Bacon sticking to foil: Switch to parchment or use a light spray of oil on the foil.
- Grease smoking: You're above 425F. Bacon fat's smoke point sits around 400F, so stay at or below that.
- One end crisp, the other end limp: Is that the bacon's fault? No, it's an oven hot spot. Rotate the pan 180 degrees at the halfway mark and it evens out.
- Bacon shrank to almost nothing: Water-added bacon, and the package will say so somewhere in small print. Brands pumped with brine lose far more weight in the pan, and no cooking method recovers it. It's the reason two packets at the same price can produce visibly different amounts of breakfast.
- Pale and greasy despite a full cook time: The pan was crowded, or you used a sheet with low sides that trapped steam. Bacon needs the moisture to escape before it can brown, which is also why a rimmed half-sheet beats a deep roasting tin here.
- Smoke on the second pan: Rendered fat from the first batch is still on the sheet and is now well past its smoke point. Fresh parchment between batches, every time.
- Crisp out of the oven, floppy ten minutes later: It kept steaming on the plate. Move it to a paper towel or a rack straight away rather than leaving it stacked, and it stays crisp.
The Bottom Line
Oven-baked bacon is easier, cleaner, and more consistent than any skillet method. Once you try it, there's no going back. Grab a sheet pan, some parchment paper, and a pack of your favorite bacon. Twenty minutes from now you'll wonder why you ever did it any other way.
Related Recipes
If you liked this, try these next: